Linux Administration on Windows

Linux Administration on Windows
Since venturing into Linux administration, Ubuntu has always been my daily driver. It's minimal, can run on very little RAM and seems to 'just work' when doing various administrative tasks.
However, for my new job I was handed a Windows 10 machine, I was suddenly caught up in a new environment with none of the tools I was used to. I had never even connected to a remote server off a Windows machine before. My initial experience was frustrating and I had to spend a while learning how to get things going.
This article summarises what I've learnt and how I was able to configure my Windows machine to make it as smooth as possible.
Multiple Tabbed Terminal
Windows CommandPrompt and Powershell do not support multiple tabs, for veteran command line users this simply won't do. Thankfully Microsoft has published a decent Terminal application which does support multiple tabs.
Install the 'Terminal' app from the Microsoft store: https://apps.microsoft.com/detail/9n0dx20hk701
Agent Forwarding Troubles
Out of the box SSH forwarding seems to be broken on Windows 10 and 11, you'll keep seeing errors like this:
channel 1: chan_shutdown_read: shutdown() failed for fd 7 [i0 o0]: Not a socket
To fix this you need to install the beta version of OpenSSH:
1PS C:\Users\mcollins1> winget install -e --id Microsoft.OpenSSH.Preview
Adding Git
Surprisingly Git is not installed by default with Windows 10, to install it run:
1PS C:\Users\mcollins1> winget install -e --id Git.Git
Git and Linux Line Endings
Without any extra configuration, Git on Windows will replace the Linux line endings on your files. This will break any scripts that you're trying to run on a Linux machine, requiring you to manually run 'dos2unix' against them.
Luckily, Git can be configured not to perform these automatic conversions and to always use Linux line endings:
1PS C:\Users\mcollins1> git config --global core.autocrlf false
2PS C:\Users\mcollins1> git config --global core.eol lf
Visual Studio and Linux Line Endings
By default, Visual Studio will also save edited files with Windows line endings. To prevent Visual Studio from doing this, we can adjust its settings to make sure that it also uses Linux line endings. Go:
File > Preferences > Settings
Text Editor > Files > Eol
Select '\n' for Linux line endings.
SSH Agent Startup
SSH Agent sometimes won't be set to start automatically with Windows, start and enable this like so:
1PS C:\Users\mcollins1> Start-Service -Name ssh-agent
2PS C:\Users\mcollins1> Get-Service -Name ssh-agent | Set-Service -StartupType Automatic
You can then add and list your SSH key:
1PS C:\Users\mcollins1> ssh-add C:\Users\mcollins1\.ssh\pawsey_ed25519
2PS C:\Users\mcollins1> ssh-add -l
3256 SHA256:aB7+ezx4eKSlJ/NJGiw3/dR7vVPVHmZbMQSiUhk3BwY Michael Collins 2024 - michael.collins@pawsey.org.au (ED25519)
Git Without Password Prompts
Despite having an SSH identity saved to the SSH Agent, Git will not actually use it:
1PS C:\Users\mcollins1\repos> ssh-add -l
2256 SHA256:aB7+ezx4eKSlJ/NJGiw3/dR7vVPVHmZbMQSiUhk3BwY Michael Collins 2024 - michael.collins@pawsey.org.au (ED25519)
3PS C:\Users\mcollins1\repos> git clone ssh://git@bitbucket.pawsey.org.au:7999/aos/acacia-ansible.git
4Cloning into 'acacia-ansible'...
5Enter passphrase for key '/c/Users/mcollins1/.ssh/pawsey_2024':
To fix this, we need to configure Git to use the same OpenSSH client that Terminal and SSH-Agent are using:
1PS C:\Users\mcollins1\repos> git config --global core.sshCommand "C:/Windows/System32/OpenSSH/ssh.exe"
2PS C:\Users\mcollins1\Repos> git clone ssh://git@bitbucket.pawsey.org.au:7999/aos/acacia-ansible.git
3Cloning into 'acacia-ansible'...
4remote: Enumerating objects: 201, done.
5remote: Counting objects: 100% (201/201), done.
6remote: Compressing objects: 100% (158/158), done.
7remote: Total 201 (delta 85), reused 0 (delta 0), pack-reused 0
8Receiving objects: 100% (201/201), 27.82 KiB | 4.64 MiB/s, done.
9Resolving deltas: 100% (85/85), done.
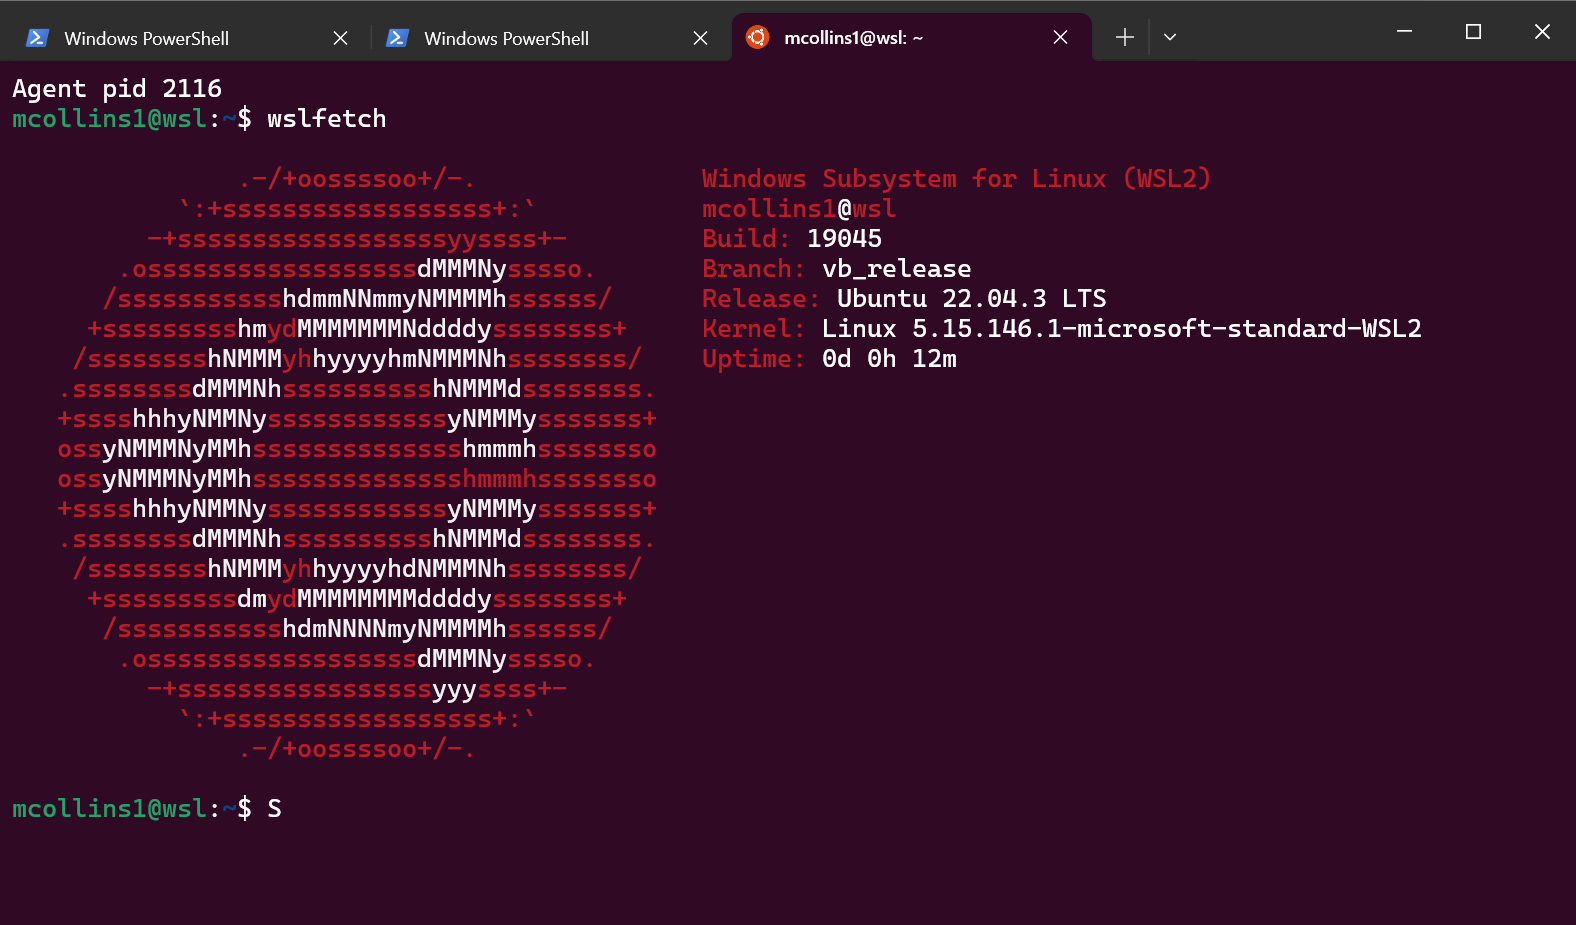
For Everything Else There's WSL
For Bash and all the other Linux tools I like to run locally, there's WSL:
1PS C:\Users\mcollins1> wsl.exe --install Ubuntu
The 'Terminal' application we installed above can also be used to open WSL in multiple tabs.
After booting the Ubuntu instance, I change the hostname and mount the Windows home directory to ~/win/:
 1mcollins1@wsl:~$ sudo hostnamectl set-hostname wsl
 2mcollins1@wsl:~$ ln -s /mnt/c/Users/mcollins1 ~/win
 3mcollins1@wsl:~$ sudo nano /etc/wsl.conf
 4...
 5
 6[boot]
 7systemd=true
 8
 9[automount]
10enabled = true
11root = /mnt/
12options = "metadata,umask=22,fmask=11"
13
14[network]
15hostname = wsl
16generateHosts = true
17generateResolvConf = true
18
19[interop]
20enabled = true
21appendWindowsPath = true
22
23mcollins1@wsl:~$ sudo reboot
I then add a section to .bashrc to start the SSH agent up each time I access WSL:
 1mcollins1@wsl:~$ nano ~/.bashrc
 2...
 3# Start SSH agent
 4if [ -z "$SSH_AUTH_SOCK" ]; then
 5    if [ -f "$HOME/.ssh/agent_socket" ]; then
 6        export SSH_AUTH_SOCK="$HOME/.ssh/agent_socket"
 7    else
 8        rm -f "$HOME/.ssh/agent_socket"
 9        eval "$(ssh-agent -a "$HOME/.ssh/agent_socket")"
10        ssh-add
11    fi
12fi
Then finally, I add my SSH identity to WSL too:
1mcollins1@wsl:~$ ssh-add ~/.ssh/pawsey_2024
2Enter passphrase for /home/mcollins1/.ssh/pawsey_2024:
3Identity added: /home/mcollins1/.ssh/pawsey_2024 (Michael Collins 2024 - michael.collins@pawsey.org.au)
Home, sweet home!